Choosing a panel
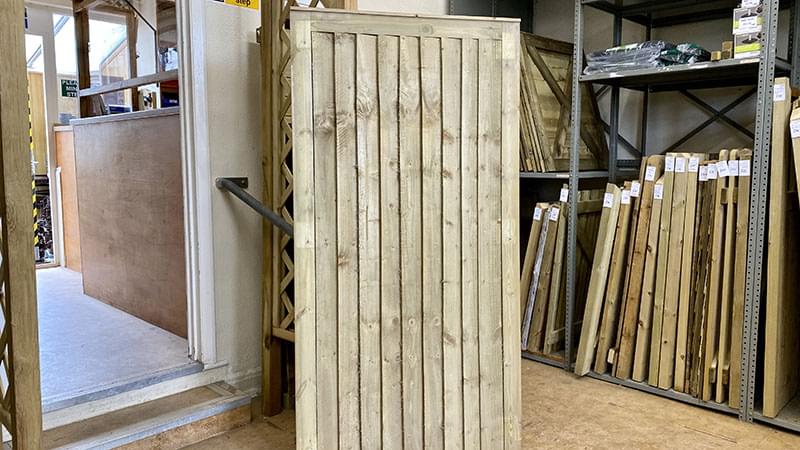
It is important to take in to consideration how much wear and tear you think your fence may receive, is it in a particularly windy spot, on an alleyway, will it need to withstand footballs being kicked against it or differing ground levels from the neighbouring property? You may just be replacing your existing panels and leaving the posts in place, it is important to take measurements of the gaps between the posts, allowing for the slot measurement if your posts are slotted concrete. Most British panels are approx. 183cms wide and European panels are around 180cms wide. If you want to replace your British panels with European panels we can supply panel extension kits which will extend your European panel to fit between posts that previously had British panels. We can also have British panels manufactured to be slightly smaller to fit where you may of had a European panel. If you are starting from scratch you can fit your posts to suit the width of your chosen panel, most fence lines aren’t the perfect length to accommodate all full panels and it is likely you will have to cut a panel down in width at the end of the run where it isn’t so obvious. We can supply the battens and capping that you may need to do this or if you have your measurements we can have any British panels made in bespoke sizes, we can also supply panel repair kits for you to alter European panels. Finally, panels are not made to be in direct contact with the ground so allow for a 150 or 300mm high gravel board beneath, if you want your overall fence height to be 6’ 6” high then a 150mm gravel board, a 6’ high panel and a 2.7m post will do the job.

Existing posts
If you have existing slotted concrete posts and you have checked the width between posts including the slots, will accommodate your chosen panel then it should be a straight forward job.
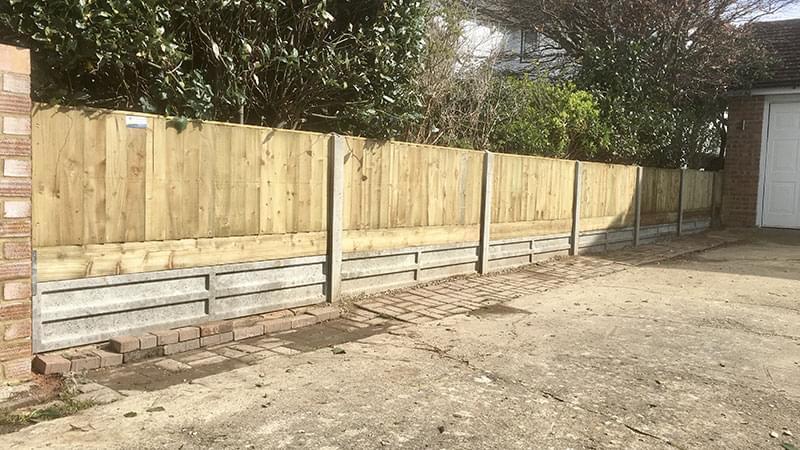
We recommend measuring between the top, and bottom of the posts to ensure the posts have been installed correctly and upright. If you have a slight difference of more than 5mm you can add a packing piece between the panel and post. The panel is installed by sliding it in from the top, we suggest this is a 2 person job. We highly recommend a concrete gravel board beneath as the panel should not be in contact with the ground and we recommend a gravel board clip as this stops the panel from slipping of the gravel board over time.
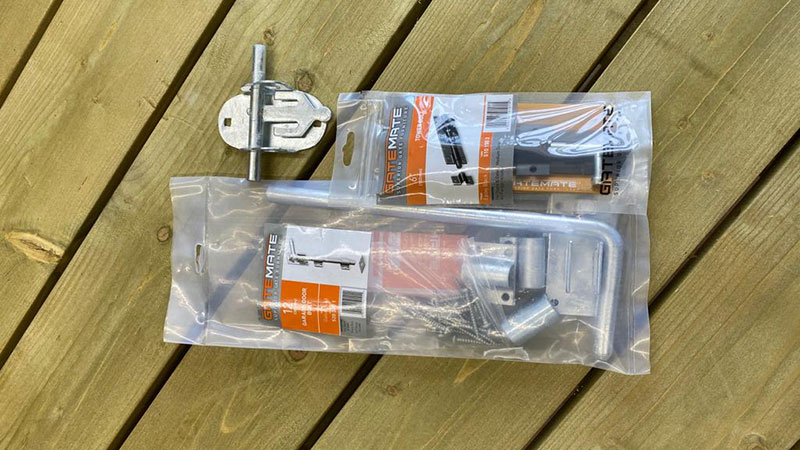
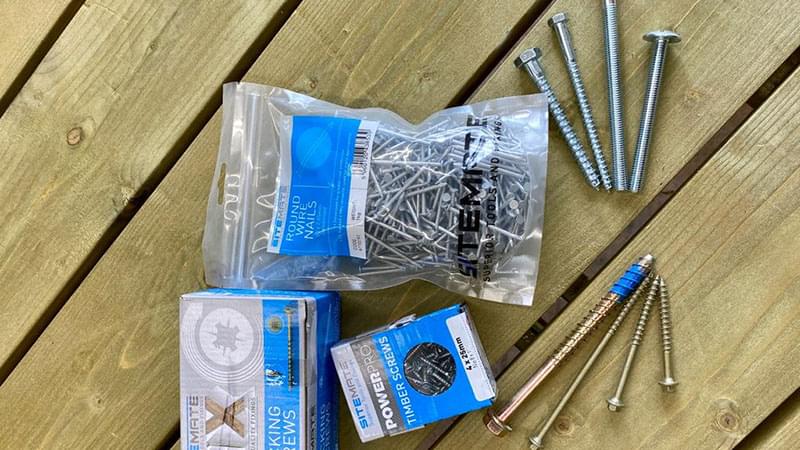
The process is similar with a timber post, check the post is stable, up right and in good condition before you start, again check the measurements top and bottom. We recommend an 80mm timber screw is used to fix through the end battens and in to the post on both sides of the panel for the strongest job, a screw makes them easier to remove in the future. We highly recommend a timber gravel board beneath as the panel should not be in contact with the ground and we recommend a gravel board clip as this stops the panel from slipping of the gravel board over time.

New installation with concrete posts
Once you have measured the total area to be covered you can work out how many panels you need by allowing 180 or 183cms per panel, depending on the style you choose and allowing around 40mm per post, the slotted posts are 100mm wide but you need to allow for the slot. It is unlikely that the run will be a perfect length to accommodate all complete panels, you may need a part panel in the run, this is best at the end or behind something where you won’t see it. We don't suggest installing a panel without a gravel board beneath and we recommend concrete gravel boards with concrete posts, these are available in a height of 150 or 300mm, if you want your overall fence height to be 6’ 6” high then a 150mm gravel board, a 6’ high panel and a 2.7m post will do the job, the post should be a minimum of 750mm in concrete in the ground, we recommend 2- bags of our quick set post mix per post hole. Install your first post ensuring it is upright with the use of a level, dig your second hole to the width of the gravel board, allowing for the slot, place the gravel board in the slot at the base of the post, sitting it on a block at the desired height, we suggest using a block each end. Attach your gravel board clip to the bottom of the panel in the centre and place on top of the gravel board, now offer your second post up to the panel and gravel board making sure your holes are dug on the correct line and your panels are at the correct height. Once satisfied fill your second hole with concrete and repeat the process down the line. If using quick set concrete once the fence line is complete go back to each post hole and top up the concrete to the bottom of each gravel board to ensure a secure finish.

New installation with timber posts
Once you have measured the total area to be covered you can work out how many panels you need by allowing 180 or 183cms per panel, depending on the style you choose and allowing around 100mm per post, we recommend a 100 x 100mm post for this job. It is unlikely that the run will be a perfect length to accommodate all complete panels, you may need a part panel in the run, this is best at the end or behind something where you won’t see it. We don't suggest installing a panel without a gravel board beneath and we recommend timber gravel boards with timber posts, these are available in a height of 150mm, you could use concrete gravel boards with the right fixings. If you want your overall fence height to be 6’ 6” high then a 150mm gravel board, a 6’ high panel and a 2.7m post will do the job, the post should be a minimum of 750mm in concrete in the ground, we recommend 2- bags of our quick set post mix per post hole. Install your first post ensuring it is upright with the use of a level, fix your timber cleat to your post, this will be used to attach the gravel board to the post. Dig your second hole to the width of the gravel board, attach a timber cleat to this post at the height you want you gravel board. Fix your gravel board to the first post by means of the cleat using 65mm nails and rest the other end on a block to make it level. Offer your second post at the correct height, once satisfied loosely attach the gravel board. Place the panel in between the two posts and on the gravel board and secure with 80mm screws both sides, now finish securing the gravel board and fill the second post hole. Carry on down the line ensuring a straight line and level top using a spirit level each time.


